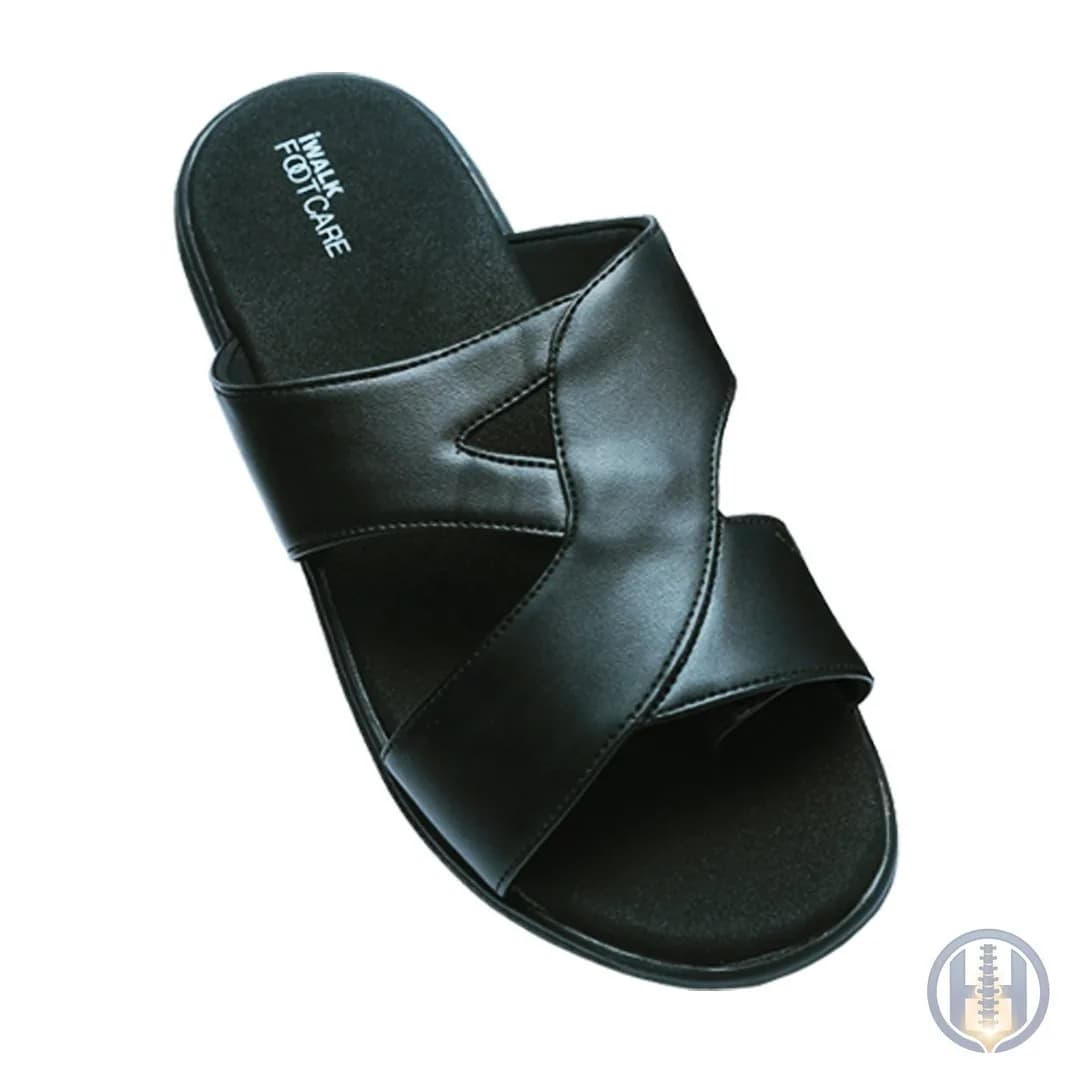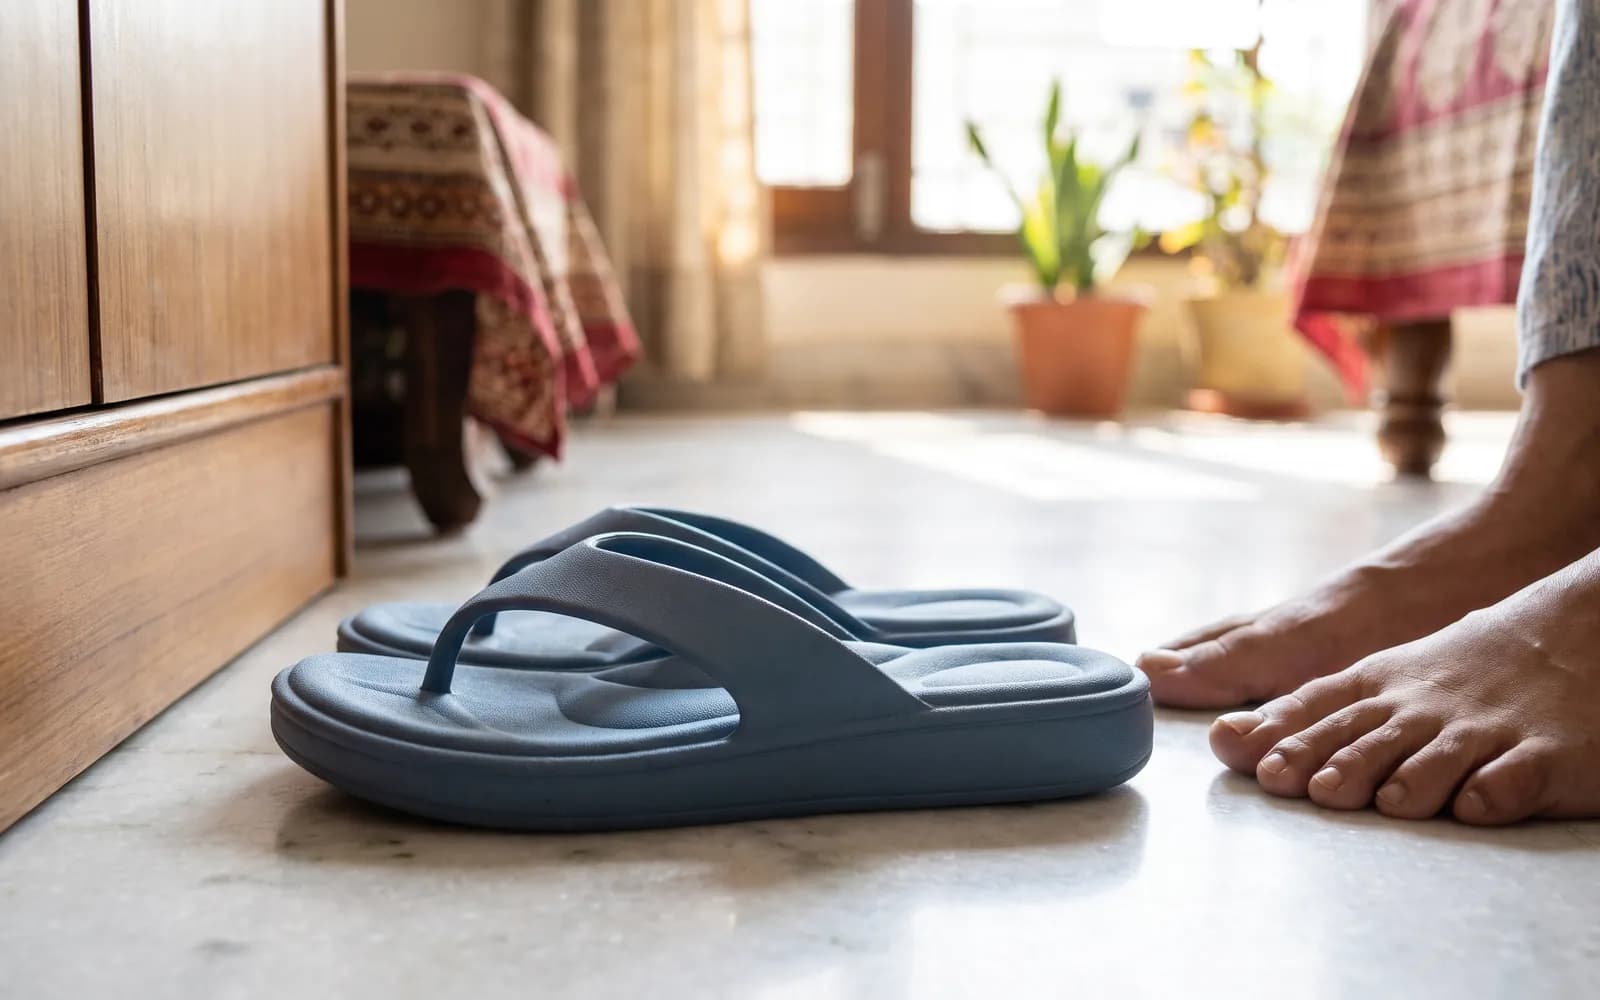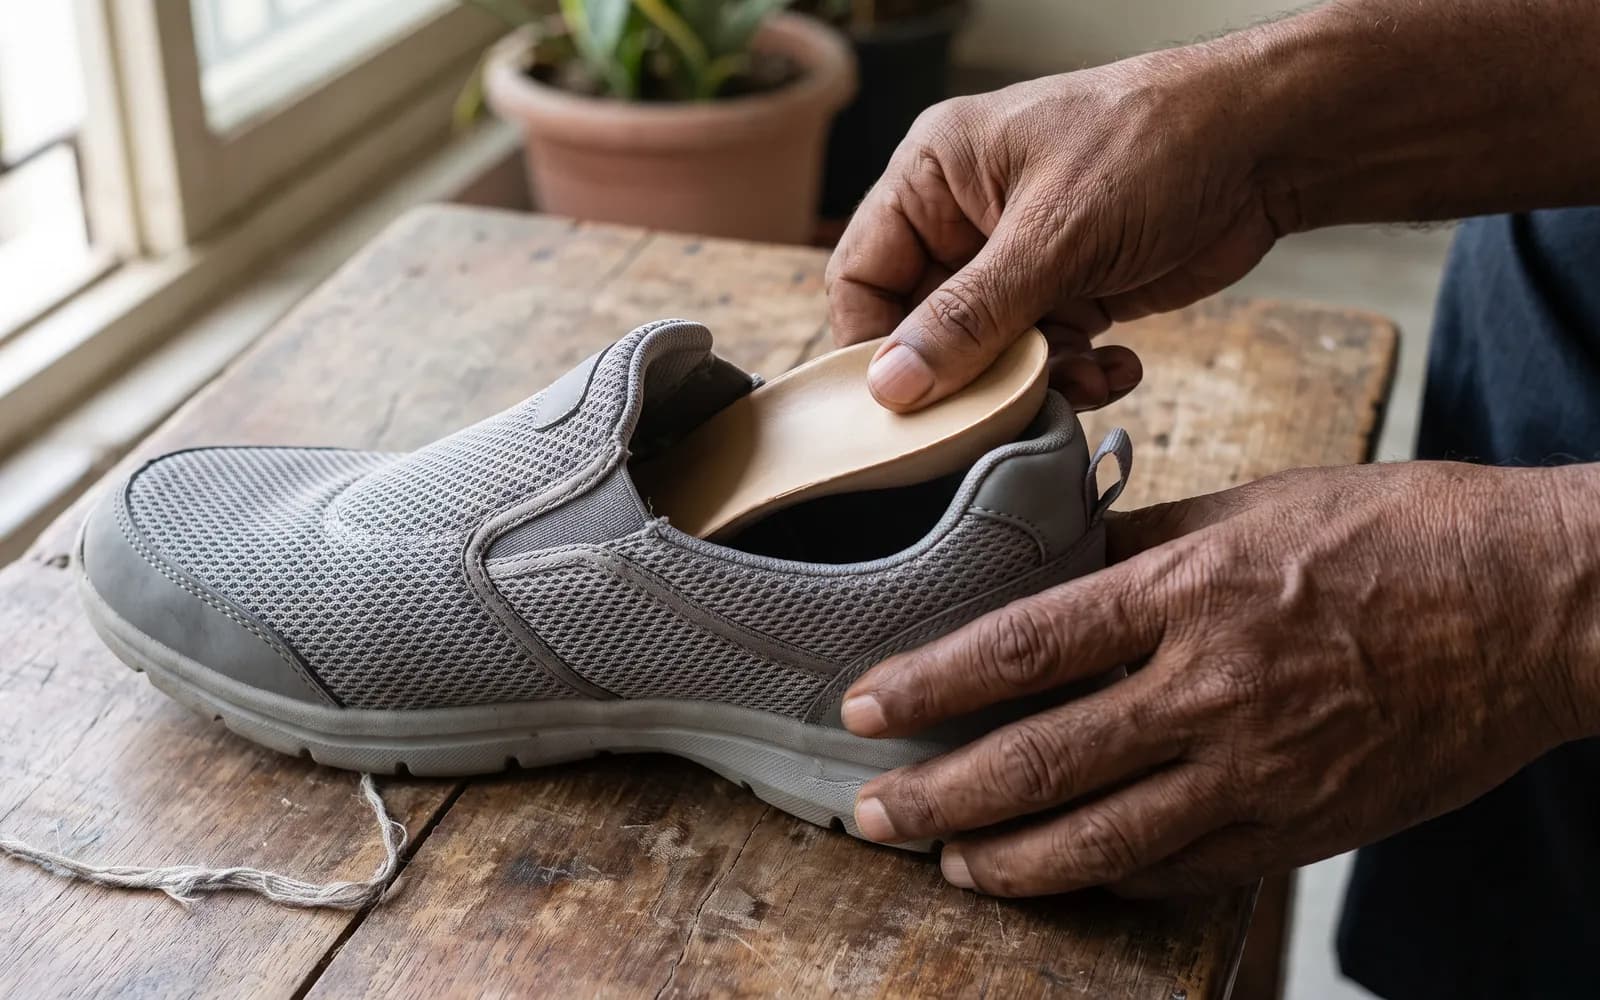
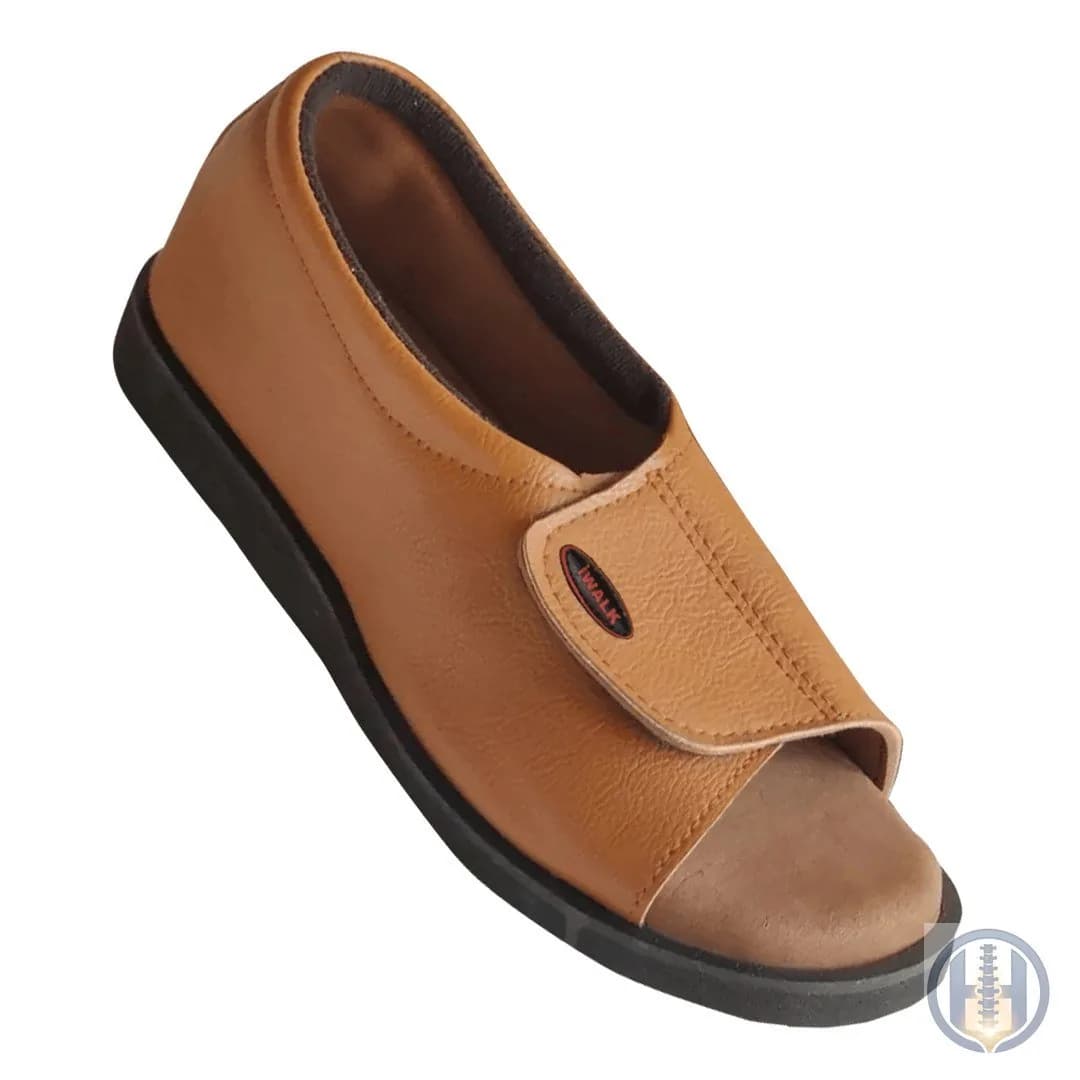
The wrong size is the most common reason footwear hurts — and for diabetic feet, a pair that's too tight can cause pressure sores. The good news: measuring your foot at home takes five minutes.
What you need
- A sheet of A4 paper (or larger)
- A pencil or pen
- A ruler or measuring scale in centimetres
- A wall and a flat floor
- Ideally, someone to help
Step-by-step: measure your foot length
- Measure in the evening. Feet are largest after a day of activity.
- Place the paper on the floor against a wall.
- Stand on the paper with your heel touching the wall, weight evenly on both feet. Wear the socks you normally wear, if any.
- Mark the tip of your longest toe (it isn't always the big toe). Keep the pencil upright.
- Measure from the wall to the mark in centimetres. That is your foot length.
Repeat for the other foot and use the larger measurement.
Measure width too (optional but useful)
Wrap a soft tape around the widest part of the foot (across the ball, just behind the toes). If you have wide feet, bunions or swelling, choose styles with adjustable straps or a roomy toe box, and mention it when you ask us for sizing help.
Matching your measurement to a size
Each product page lists the available sizes. Choose the size that corresponds to your foot length, allowing roughly a thumb's width of room in front of the longest toe. Our fit runs roomy, so there's space for swelling or an insole.
Between sizes? Choose the larger size and use the straps to adjust. Or simply WhatsApp us your measurement in cm and we'll confirm the right size before you order.
Common sizing mistakes
- Using an old size — feet change with age, weight, pregnancy and diabetes.
- Measuring in the morning — you'll size too small.
- Measuring only one foot.
- Relying on feel if you have reduced sensation — check for red marks after the first wear instead.
- Buying tight "to stretch later" — orthopedic and diabetic footwear should be comfortable from day one.
After your pair arrives
- Wear it indoors for an hour first.
- Remove and check your feet for red marks or pressure spots.
- Unused pairs in their original box can be exchanged within 7 days of delivery — see our refund policy.
Special fitting situations
- Bunions or wide forefoot: measure width across the widest point and choose styles with adjustable straps over the forefoot or a roomy toe box. Avoid pointed designs.
- One foot swollen or larger: fit the larger foot and tighten the straps on the other.
- Using a custom insole or orthotic: take it with you when trying footwear, or add a little extra length allowance, and choose pairs with a removable or flat-enough footbed.
- Hammer toes or claw toes: look for extra depth in the toe area so the tops of the toes aren't pressed.
- Diabetic neuropathy: measure rather than rely on feel, and inspect your feet after the first few wears.
Measuring someone else's feet
Measuring an elderly parent? Ask them to stand with weight on both feet (holding a chair for balance), not sit — feet spread when standing. Keep the pencil upright against the foot, and measure both feet. If they can't stand comfortably, measure the length of the footbed of their most comfortable current pair from heel to tip instead.
Checking the fit when your pair arrives
- Length: about a thumb's width between the longest toe and the front edge.
- Width: no bulging over the sides of the sole.
- Heel: stays in place when you walk; the back strap doesn't dig in.
- Straps: fasten comfortably with some adjustment left in both directions.